Mushroom Nail Art: A Comprehensive Guide to Fungi-Inspired Designs
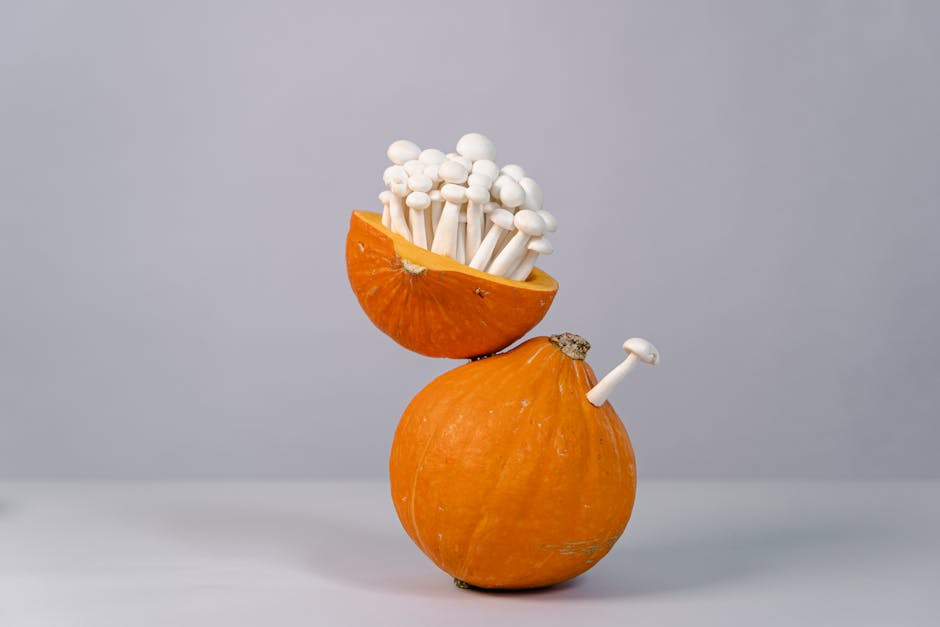
From delicate toadstools to vibrant morels, mushrooms have captivated artists for centuries. Now, this fascinating kingdom of fungi is inspiring a unique and increasingly popular trend in nail art: mushroom manicures. This comprehensive guide will delve into the world of mushroom nail art, exploring diverse design ideas, essential techniques, and the inspiration behind this captivating trend.
Types of Mushroom Nail Art Designs
The beauty of mushroom nail art lies in its versatility. The range of designs is vast, allowing for both intricate details and simple, elegant aesthetics. Here are some popular styles:
- Realistic Mushroom Nail Art: These designs aim for photographic accuracy, capturing the subtle textures, colors, and details of real mushrooms. This often involves advanced nail art techniques and skilled brushwork.
- Cartoonish/Cute Mushroom Nail Art: A playful take on the theme, this style features simplified, whimsical mushroom illustrations. Perfect for adding a touch of fun and whimsy to your look.
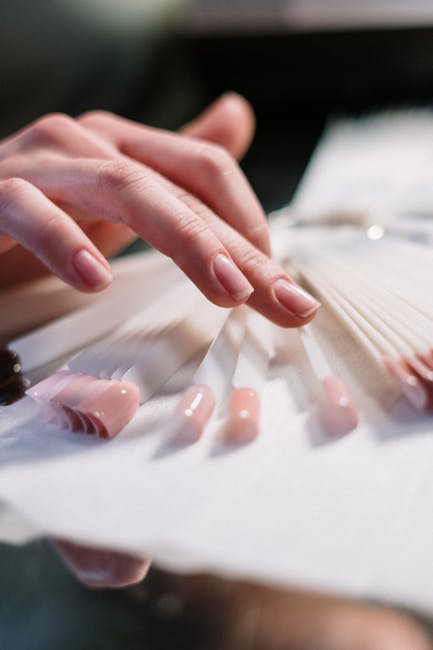
- Minimalist Mushroom Nail Art: Focusing on clean lines and simple shapes, minimalist mushroom nail art emphasizes elegance and sophistication. A single, well-placed mushroom accent can make a statement.
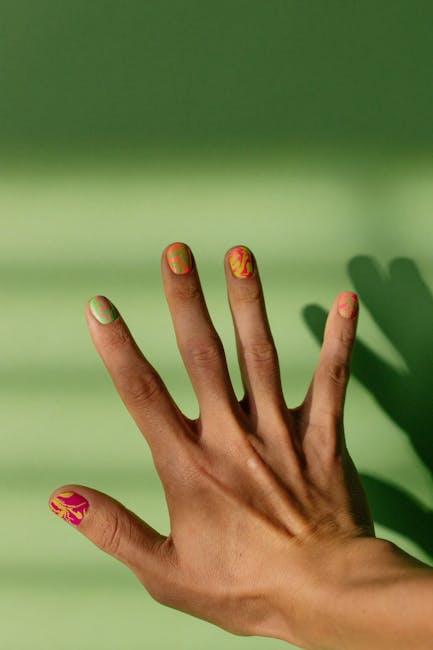
- Geometric Mushroom Nail Art: Combining the organic forms of mushrooms with geometric shapes and patterns creates a unique and modern aesthetic. This style lends itself well to bold color palettes.
- Abstract Mushroom Nail Art: This style uses the colors and textures of mushrooms as inspiration without directly depicting a realistic mushroom. It allows for creative freedom and unique interpretations.
- 3D Mushroom Nail Art: Utilizing sculpting techniques and embellishments, this style creates raised, textured mushrooms for a truly eye-catching effect. This often requires specialized products and skills.
Techniques for Creating Stunning Mushroom Nail Art
Achieving the perfect mushroom manicure requires a combination of skill and the right tools. Here are some key techniques:
Nail Art Brushes:
Investing in a set of high-quality nail art brushes is crucial. Different brush sizes and shapes are needed for various details, from outlining the mushroom cap to creating subtle textures on the stem.
Nail Polishes:
A diverse palette of nail polishes is essential for capturing the vibrant colors found in different mushroom species. Consider using acrylic paints for finer details and intricate designs.
Dotting Tools:
Dotting tools are invaluable for creating spots, adding texture, or depicting tiny details such as spores or mushroom gills.
Nail Art Pens:
Fine-tipped nail art pens are perfect for creating intricate lines and details, essential for realistic mushroom depictions.
Nail Art Stencils:
Stencils can simplify the process by providing pre-cut shapes and patterns, making it easier to achieve precise designs, especially for beginners.
Embellishments:
Adding embellishments like glitter, rhinestones, or microbeads can enhance the design and add depth and texture to your mushroom nail art.
Inspiration and Design Ideas
The world of mushrooms offers endless inspiration for nail art. Consider these ideas:
- Amanita Muscaria (Fly Agaric): The iconic red and white toadstool is a popular choice, offering a striking visual appeal.
- Chanterelle Mushrooms: The vibrant yellow and orange hues of chanterelle mushrooms create a cheerful and warm design.
- Morel Mushrooms: The honeycomb-like texture and earthy tones of morels lend themselves to unique artistic interpretations.
- Shiitake Mushrooms: The rich brown color and unique shape of shiitake mushrooms provide a sophisticated and elegant design element.
- Fairy Rings: Depict a magical fairy ring of mushrooms, creating a whimsical and enchanting design.
- Mushroom Forest: Create a miniature mushroom forest on your nails, using various mushroom types and sizes.
Step-by-Step Guide to a Simple Mushroom Nail Art Design
Let’s create a simple yet effective mushroom design:
- Prepare your nails: Clean, shape, and buff your nails. Apply a base coat.
- Apply a base color: Choose a neutral color like beige or white for the background.
- Create the mushroom cap: Use a small dotting tool or brush to create a rounded shape for the mushroom cap. Use red or another vibrant color.
- Add the spots: Using a white nail polish and a smaller dotting tool, add white spots to the red cap.
- Draw the stem: Use a thin brush and brown nail polish to draw a slender stem beneath the cap.
- Add details: You can add subtle shading or highlighting to enhance the three-dimensionality of the mushroom.
- Apply a top coat: Seal the design with a clear top coat for protection and shine.
Maintaining Your Mushroom Nail Art
To ensure your mushroom manicure lasts as long as possible, consider these tips:
- Use a high-quality top coat.
- Avoid harsh chemicals and prolonged water exposure.
- Apply cuticle oil regularly to keep your nails and cuticles hydrated.
- Touch up any chips or imperfections as needed.
Conclusion
Mushroom nail art offers a unique and creative way to express your individuality. With a little practice and the right tools, you can create stunning fungal-inspired designs that are sure to turn heads. So, embrace your inner mycologist and unleash your creativity with this captivating nail art trend!
