Rustic Crust Pizza: Unveiling the Charm and Craft Behind the Perfect Pie
The allure of a rustic crust pizza is undeniable. Its irregular shape, slightly charred edges, and airy interior texture speak volumes about the craftsmanship and passion poured into its creation. Unlike the perfectly uniform crust of a mass-produced pizza, the rustic variety offers a delightful textural contrast and a deeper, more complex flavor profile. This article delves into the heart of rustic crust pizza, exploring its origins, defining characteristics, and the techniques needed to perfect this culinary masterpiece at home.

Understanding the Rustic Crust Aesthetic
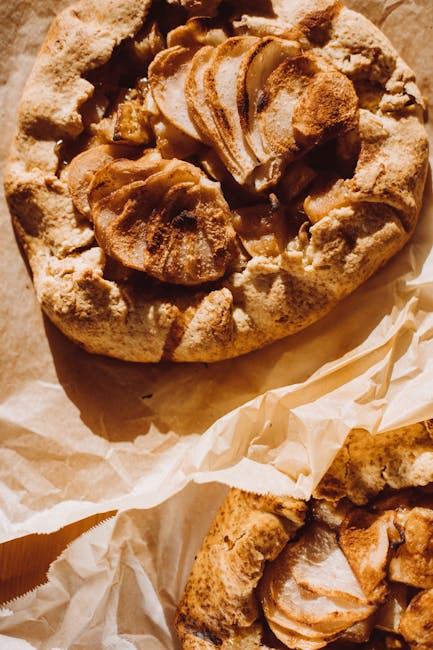
The term “rustic” evokes images of simplicity, authenticity, and a touch of imperfection. In the world of pizza, this translates to a crust that isn’t meticulously round and evenly browned. Instead, it boasts a slightly irregular shape, potentially with some puffed-up air pockets, and a beautiful array of browning, from golden to deeply caramelized. The edges might be slightly thicker than the center, showcasing the natural expansion of the dough during baking. This imperfection is precisely what makes it so appealing—a testament to handmade quality and the natural processes involved.
Key Characteristics of a Rustic Crust:
- Irregular Shape: Not perfectly round, exhibiting a natural, freeform appearance.
- Varied Browning: A range of colors from light golden to deep brown, indicative of proper baking and Maillard reaction.
- Air Pockets and Texture: A slightly airy interior with variations in thickness and chewiness.
- Slightly Thick Edges (Cornicione): A characteristic feature offering a satisfying chew and often crispier than the center.
- Flavor Depth: A complex flavor profile stemming from the fermentation process and browning.
The Science Behind the Perfect Rustic Crust
Achieving a truly rustic crust isn’t just about aesthetics; it’s about understanding the science behind dough fermentation and baking. The key lies in the type of flour used, the hydration level of the dough, and the fermentation time.
Flour Choice:
High-protein flours, such as bread flour or 00 flour, are ideal for rustic crusts. These flours contain more gluten, which provides the strength and structure necessary to support the air pockets created during fermentation and baking. The higher gluten content contributes to that signature chewy texture.
Hydration and Dough Development:
The hydration level—the ratio of water to flour—significantly impacts the final crust. A higher hydration dough (around 65-75%) will result in a more open crumb structure and a chewier texture. Proper kneading or mixing develops the gluten network, leading to a stronger dough capable of holding its shape and producing the desired airy texture.
Fermentation:
Fermentation is crucial for developing flavor and texture. A long, slow fermentation allows the yeast to fully work its magic, producing complex flavors and enhancing the overall digestibility of the dough. This process also contributes to the airy texture by producing carbon dioxide bubbles.
Mastering the Rustic Crust at Home: A Step-by-Step Guide
While the process might seem daunting, making a rustic crust pizza at home is achievable with the right techniques and ingredients. Here’s a simplified approach:
- Prepare the Dough: Combine flour, water, yeast, salt, and any desired flavorings (e.g., olive oil, herbs). Knead thoroughly until a smooth, elastic dough forms.
- First Rise (Bulk Fermentation): Place the dough in a lightly oiled bowl, cover, and let it rise in a warm place for several hours or even overnight. The time depends on the ambient temperature and the type of yeast used.
- Shape the Dough: Gently shape the dough into your desired form. Remember, rustic crusts are about imperfection, so don’t strive for a perfect circle.
- Second Rise (Proofing): Allow the shaped dough to rest on a lightly floured surface, covered, for another 30-60 minutes.
- Prepare the Pizza: Add your chosen sauce, cheese, and toppings.
- Baking: Bake the pizza in a preheated oven at high temperatures (450-500°F or 230-260°C) for 12-15 minutes, or until the crust is golden brown and the cheese is melted and bubbly.
Beyond the Basics: Tips and Variations
Experimenting with different flours, hydration levels, and toppings is part of the fun. Try adding whole wheat flour for added nuttiness or using different types of cheese for varied flavor profiles. You can also incorporate herbs and spices directly into the dough for a more complex taste.
Alternative Baking Methods:
For an extra crispy crust, consider using a pizza stone or steel. These materials retain heat exceptionally well, resulting in a crispier bottom and a more evenly baked pizza.
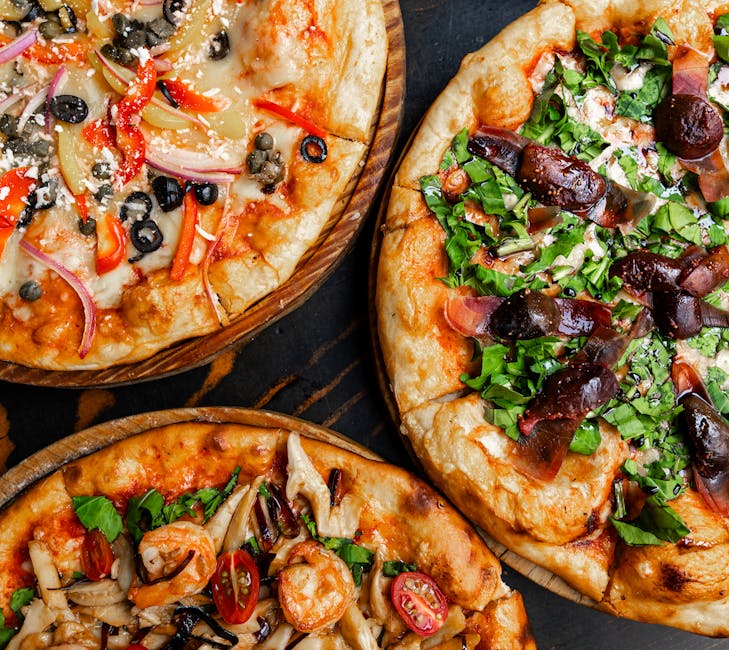
Creative Toppings:
The beauty of rustic crust pizza lies in its versatility. Experiment with various toppings, from classic margherita to gourmet combinations with seasonal vegetables, artisanal cheeses, and cured meats. Don’t be afraid to get creative and personalize your pizza experience.
Conclusion: Embracing the Rustic Charm
The rustic crust pizza is more than just a meal; it’s an experience that celebrates simplicity, craftsmanship, and the joy of creating something beautiful and delicious from scratch. By understanding the principles of dough preparation and baking, you can master the art of creating this culinary masterpiece at home, impressing your family and friends with a pizza that’s as visually appealing as it is incredibly flavorful. So, embrace the imperfections, experiment with flavors, and embark on a journey to create your perfect rustic crust pizza.